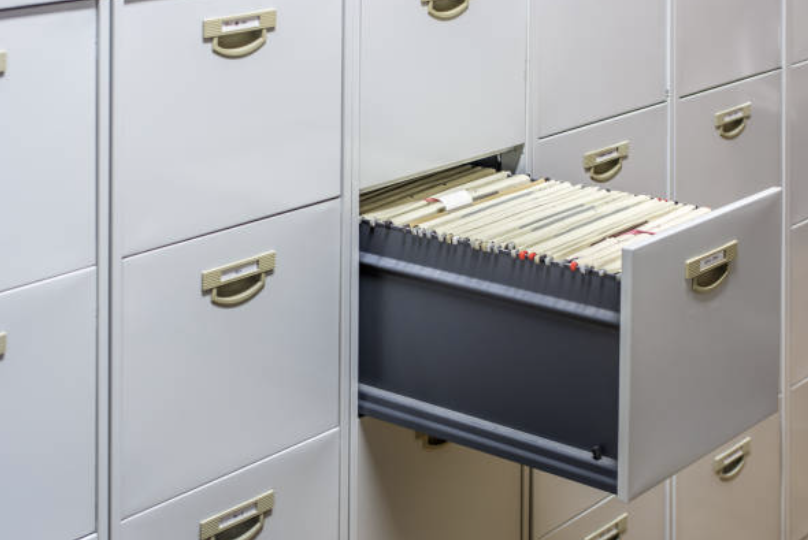
How to Remove Dresser Drawers with 10 Most Common Types of Drawer Slides
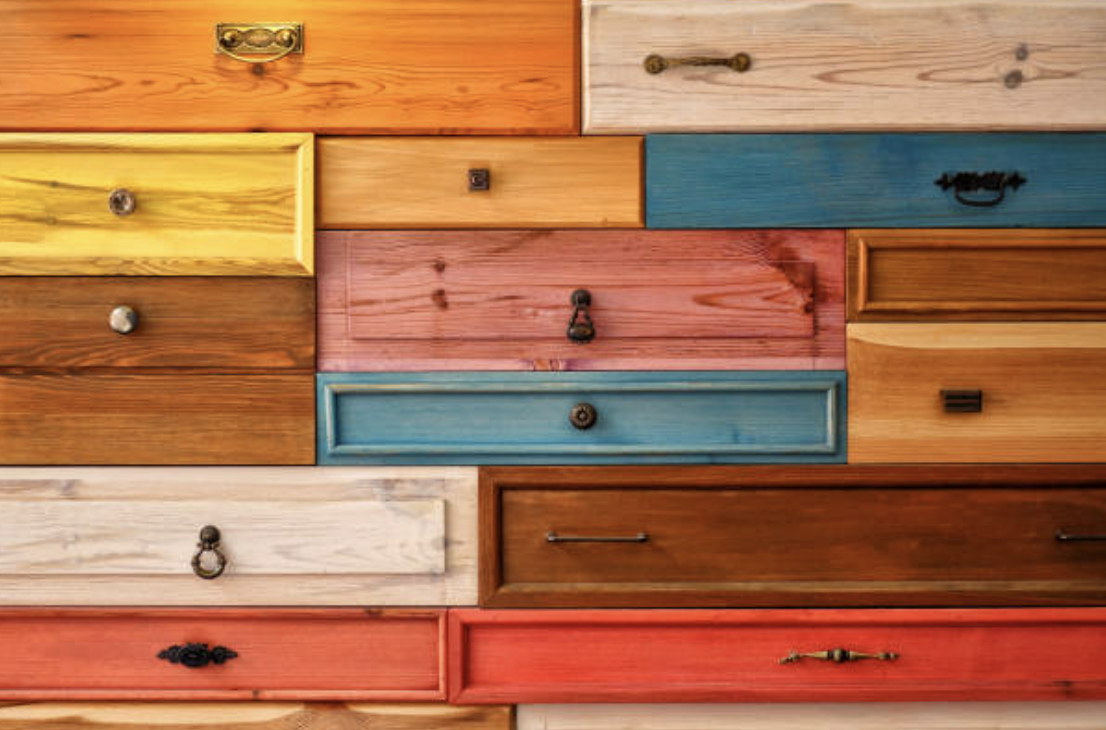
Drawers get stuck sometimes, let’s face it, inevitably, you'll have to take the drawers out of a cabinet or dresser or other pieces of furniture.
To move furniture, clean it, or make a quick repair, you usually first need to take the drawers out of the piece. When you want to get rid of drawers, the process is usually simple, but it will depend on what kind of drawer slides you have.
Most wood-glide and free-rolling drawers will come right out with a little force or a tilt at the right angle if you push them. You'll need to remove the screws that hold the drawer in place before you can finish pulling it out of the cabinet. This is true for drawers with stop mechanisms like stabilizer screws or anti-tip cables.
Here are the simple solutions for taking drawers out of the most common types of drawer slides.
1. How to Remove Metal Glides Drawers with Levers

Metal-glide slides with levers are the most popular form of drawer slide, and your furniture is almost certainly fitted with this sort of gear. Follow these methods to remove drawers from a metal glide:
1. To begin with the top drawer. This guideline applies to any drawer-equipped piece of furniture; if you need to work on more than one drawer, begin at the top and work your way down. This helps prevent the furniture from becoming too top-heavy, which can be harmful and result in the furniture tipping over. Beginning at the top and working your way down is the safest and most efficient method because it keeps the majority of the weight at the bottom.
2. With one hand on each side of the drawer, stand in front of the piece of furniture and move the drawer open as far as possible. Keep your distance from the drawer—allow enough room for it to open to its natural stopping point.
3. Center the track levers in each drawer track. They will either be straight or curved, depending on the item of furniture in question. Full-extension drawer slides normally have straight levers, but three-quarter-extension drawer slides (which are more prevalent on smaller drawers) typically have a curved-track disconnect lever.
4. Using both hands, press both levers simultaneously. If the lever is straight, this procedure is quite simple: simply press down as far as possible. To smooth out a curved lever, press on the curved part until it flattens out.
5. While maintaining pressure on the levers, pull the drawer out toward your body. It should be simple to remove from the furniture. After removing the drawer, the tracks will most likely protrude from the front, so press them back in a straight, parallel manner.
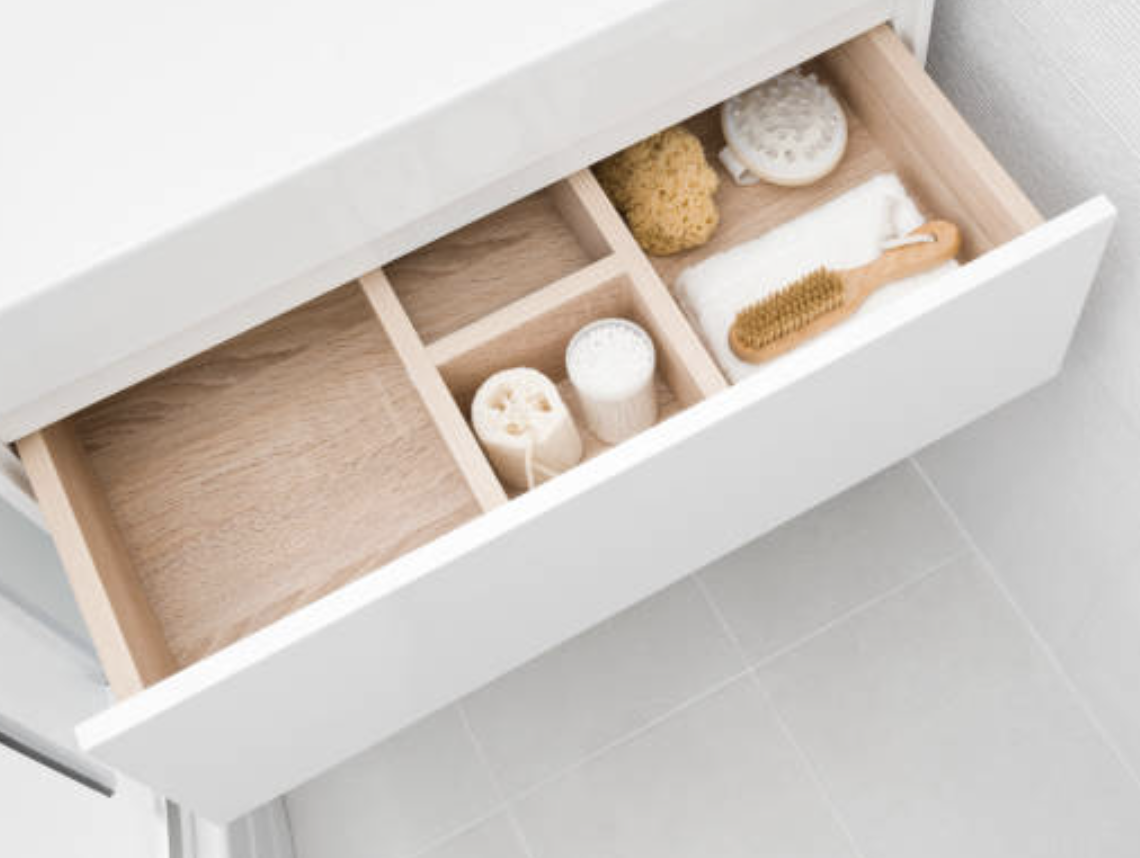
2. How to Remove Drawers with Bottom Slides

The simplest method to tell if your dresser has a bottom slide is that you will not see it, as they are more frequently found in drawers with a more formal style. If your dresser drawers are wider, they will almost certainly have two bottom slides. Their stability is increased by the double-sliders.
1. Before removing drawers from the dresser, check for any release devices, such as buttons or levers. If there are, this indicates that the drawer must be disengaged from the mounting plates and that the button or lever must be pressed prior to pulling the drawer out.
2. When it comes to removing dresser drawers with a bottom slide that lacks buttons and leavers, all you have to do is wriggle each drawer out and lift it until you hear the "clicking" sound.
3. This does suggest, though, that you may as well sometimes apply some pressure on the drawers.
3. How to Remove Drawer with Center Slides

Dresser drawers are broader than standard drawers, which is why they typically have a metal slide in the center. This slide connects the drawer to the dresser and ensures that it opens and closes smoothly. If your dresser drawer becomes stuck, there is a good likelihood that the extension slide has failed.
This is how you remove a metal slide from a dresser drawer.
1. Inspect the central slide for the presence of a locking mechanism. Although they are uncommon on center slides, it is always prudent to inspect. If the middle slide has a locking mechanism, push the lever/button to release it first.
2. Inspect the drawer for the presence of a pull-out guard. It is a little piece of plastic that inhibits the drawer from fully opening. It is either a semi-circular piece or a plastic flap affixed to the drawer's rear.
3. Gently press down on the drawer to check if it may be dislodged. For center slides with locks, a tiny click indicates that the drawer has been disengaged. If the drawer remains stuck, wiggle it slightly.
4. If the drawer remains stuck, the central slide may be damaged or broken. Completely open the slide and run a putty knife down either side of the track.
5. If the slide is damaged or cracked, it is time to contact a handyman, since you will almost certainly need to remove the entire slide and mounting plate.
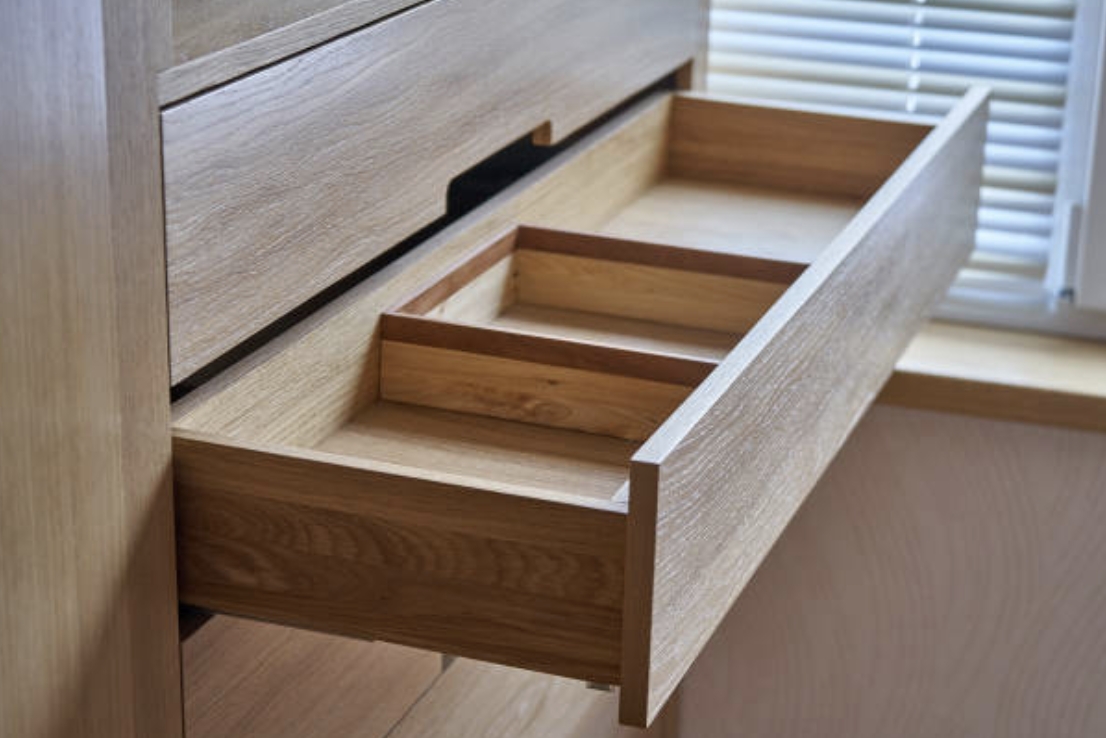
4. How to Remove Drawers with Full Extension Slides
Full-extension drawer slides are typically utilized in drawers that are longer and broader. They are frequently seen on drawers with a 12-inch depth. These sliders can be mounted to the drawer's side or bottom. This video demonstrates how to remove a drawer with full extension slides.
1. Fully extend the drawer.
2. Locate and press the lever/button/latch on the full extension slide to release it. For bottom slides, lift the drawer slightly and feel the slide with your hand until the release latch is located. For side slides, the lock may be easily identified by glancing at the slides.
3. Tilt the drawer up at an angle so that any safety tabs are visible above the cabinet or dresser's top.
4. Gently pull the drawer out until a quiet click is heard. If the drawer is jammed, jiggle it slightly to dislodge it.
5. How to Remove Drawers with Stops

Drawer stops are little plastic tabs that are affixed to the rear of the drawer and prevent the drawer from being fully opened. Consider removing a dresser drawer containing all your jewels too quickly and the drawer separating from the cabinet. Drawer stops will prevent this from happening.
1. Extend the drawer to its fullest extent.
2. Slightly slant the drawer so that the drawer stop is clear of the dresser's top.
3. Push the button/lever on the drawer slides to release them. A small click indicates that the drawer slide has been freed.
4. Gently pull the drawer out, keeping it at an angle.
5. If the drawer stop is at the bottom of the drawer, lift it and use your hand to feel beneath it until you reach the tab. Continue pushing the tab as you remove the drawer. Ensure that the drawer slides are released before removing the drawer.
6. How to Remove a Drawers without Lever
Before proceeding with the advice on how to remove drawers without a lever, ensure that you have a screwdriver and, preferably, some form of working gloves on hand.
1. To begin, stand in front of the dresser and pull out the drawer as far as possible. While gripping the handle, pull the drawer outward.
2. Without stoppers, each drawer will rapidly empty. If you encounter any resistance, try drifting the drawers in question slightly.
3. If you're wondering how to remove Ikea drawers completely, here is the procedure. You'll need a screwdriver, and once the screws are loosened, the drawers should easily fall out.
4. If the drawers of your dresser have built-in stoppers, remember tilt it toward the floor after you've removed and floated the drawer.
5. Lastly, push the drawer's edges lower so that the rear end rises slightly. Thus, the wheels will pass over the stoppers, allowing the drawer to open easily.
7. How to Remove Soft-Close Drawers

Drawers with soft-close mechanisms are frequently seen in bespoke cabinets and high-end furniture. Unlike conventional rollers and rails, this sort of drawer guide helps prevent drawers from being closed too forcefully, potentially causing damage, and also softly slides closed over the final few inches, even if the drawer was not pushed firmly enough. If you need to remove soft-close drawers, the procedure is as follows:
1. Begin by emptying the drawer. This simplifies the removal procedure.
2. Pull the drawer out as far as possible and fully stretch the guides.
3. Inspect the drawer guides to see if a clip or locking lever is there. Remove any clips that you come across. If the drawer guides have a lever, pull the drawer out while pushing the lever.
4. Continue tugging outward on the drawer until it is entirely free of the rails. To completely remove the drawer, you may need to tilt it downward.
8. How to Remove Wood Drawer Slides
Wooden drawer slides are frequently seen on antique furniture such as armoires and dressers. Although these drawers frequently do not open easily, they may be removed using a firm tug, as detailed here:
1. Begin with the top drawer and work your way down. This helps prevent top-heavy furniture from toppling over, however this will not be an issue if the body of the furniture is quite hefty.
2. Extend the drawer as far as possible. Do not be concerned about pulling it too far, as the majority of drawers have a built-in stop.
3. Using both hands and a bit of power, pull the drawer out as evenly as possible toward your body. If your furniture has a single center wooden track, removing the drawer will need a bit more effort, but wood-glide furniture with two side tracks will be slightly easier to deal with. In either case, use sufficient force to overcome the resistance. It will ultimately protrude from the ground.
9. How to Remove Drawers with Stabilizer Screws
In certain circumstances, stabilizer screws are installed in the drawers of your furniture, which adds an extra step to the drawer removal process. Nonetheless, these drawers and fasteners are rather simple to remove. Simply follow the instructions outlined below:
1. Assemble the drawers in the right sequence, beginning at the top and working your way down drawer by drawer. Stabilizer screws are frequently used on drawers that contain heavy things, and it is critical to remove them from top to bottom to avoid the piece of furniture becoming top heavy. As a result, the piece of furniture may become unstable and may wobble or topple over.
2. Position yourself in front of the furniture, leaving sufficient room for the drawer to completely stretch. Grab the drawer by the handle or with both hands, one on each side (but keep your fingertips free of the drawer's metal rails).
3. Extend the drawer as far as it will go. Continue pulling until you feel the drawer come to a halt at its built-in stop.
4. Locate the stabilizer screws within the drawer's body. Two screws should be used. Once located, use the appropriate screwdriver to remove them. Drawers are often secured with #8 stabilizer screws, which need a Phillips-head screwdriver.
5. Locate the drawer's catch tabs, which should be on both sides. While pushing upward on both catch-tab mechanisms, release the catch. Using your thumb and index finger, squeeze the catch tab; this will release the drawer from both side tracks.
6. Once the drawer is released, fully extend it. Maintain a straight line as you pull and lift it entirely out. Take caution, since even if you have emptied the drawer in advance, it might still be rather heavy. Additionally, once the drawer is removed, take a quick look at the side of the drawer to see if it has any markings. This number is frequently seen on a sticker or decal and identifies which drawer goes into which aperture in the furniture. You'll need to remember this when it's time to reinstall the drawer. Typically, the top drawer is numbered 1, while the lower drawers are numbered sequentially.
7. Replace the tracks before resuming work on the piece of furniture. Push the center stabilizer track in, as well as both side suspension tracks, using a straight, parallel action.
10. How to Remove Drawers with Anti-tip Cables

Cables are fastened to the drawers of anti-tip furniture to prevent numerous drawers from being opened simultaneously. This assists in preventing the furniture from toppling over or becoming unsteady—when numerous drawers are open, particularly at the top, the item might become top heavy and topple. While the anti-tip cables assist mitigate this, they also add an additional step to the drawer removal procedure. However, following these steps simplifies the process of uninstalling anti-tip drawers:
1. If you're removing numerous drawers, begin with the top drawer and work your way down. This assists in keeping the weight of the furniture at the bottom. Always begin by removing the top drawer; this is the safest and simplest method of working on a piece of furniture.
2. Take a position in front of the furniture and check that there is sufficient room for the drawer to completely open. Extend the drawer's front handle outward. Extend the drawer until you encounter resistance. You may also grab the front bottom of the drawer if that makes it easier to pull it out, but be careful not to get your fingers caught in the drawer's tracks.
3. Completely open the drawer to reveal the anti-tip cable, which will be linked to the drawer's back exterior. Unscrew it using a screwdriver. Typically, the wire will be attached to the drawer using a Phillips-head screw, so make sure you have one on available.
4. Locate and click on the disconnect tabs. They will be located at the rear of the metal tracks on both the left and right. Simultaneously depress both tabs. Make certain to fully press down and continue pressing inward as you remove the drawer.
5. With the tabs squeezed down, pull the drawer out. Tilt the drawer upward as you pull toward you. It should be able to dislodge itself from the furniture. Take caution, since the drawer is likely to be rather heavy. There is a strong likelihood that the drawer's side will be numbered. Take note of this number since it tells which slot in the furniture the drawer should be placed in. Typically, drawers are numbered from top to bottom, with lesser numbers preceding bigger ones. For instance, the drawer denoted by a 1 is almost always the top drawer. This simplifies the process of reassembling your furniture.
6. Take the drawer out. The tracks will almost certainly protrude somewhat from the furniture. Before continuing to work on the piece, reinsert the metal tracks into the piece of furniture.
Final Thoughts
In order to remove the drawers from your furniture, you'll need to know what sort of slide you have and how to remove it. These step-by-step instructions will help you identify the sort of drawer slide you're dealing with and get the task done quickly and efficiently.
Note: Meet&Co Office Furniture Co. Ltd is one of the best office furniture manufacturers in China offering furniture that adds warmth, comfort, richness and finesse to every office. They offer a unique appeal and structural integrity that other furniture cannot match. These pieces are known to change the mood of employees and give them a homely and organic feel. In addition, this office furniture is known for its high strength and durability. They are durable and robust in nature and provide an excellent price-performance ratio. Maintenance is easy and can add charm to any office space. We manufacture a wide range of office furniture products including office desks, office chairs, office sofa, school furniture, office workstation, ergonomic chairs, school desks, school chairs, standing desks, electric standing desks, plastic chairs, filing cabinet, and office trading desks and chairs, and all of the furniture products accept customization according to your needs.
If you need a large order or customized office furniture, feel free to contact us! We are always here to help you!

